
Now Reading: How to reset “Replace Fusing Belt Unit” on Ricoh MP C3502 / MP C4502
-
01
How to reset “Replace Fusing Belt Unit” on Ricoh MP C3502 / MP C4502

How to reset “Replace Fusing Belt Unit” on Ricoh MP C3502 / MP C4502
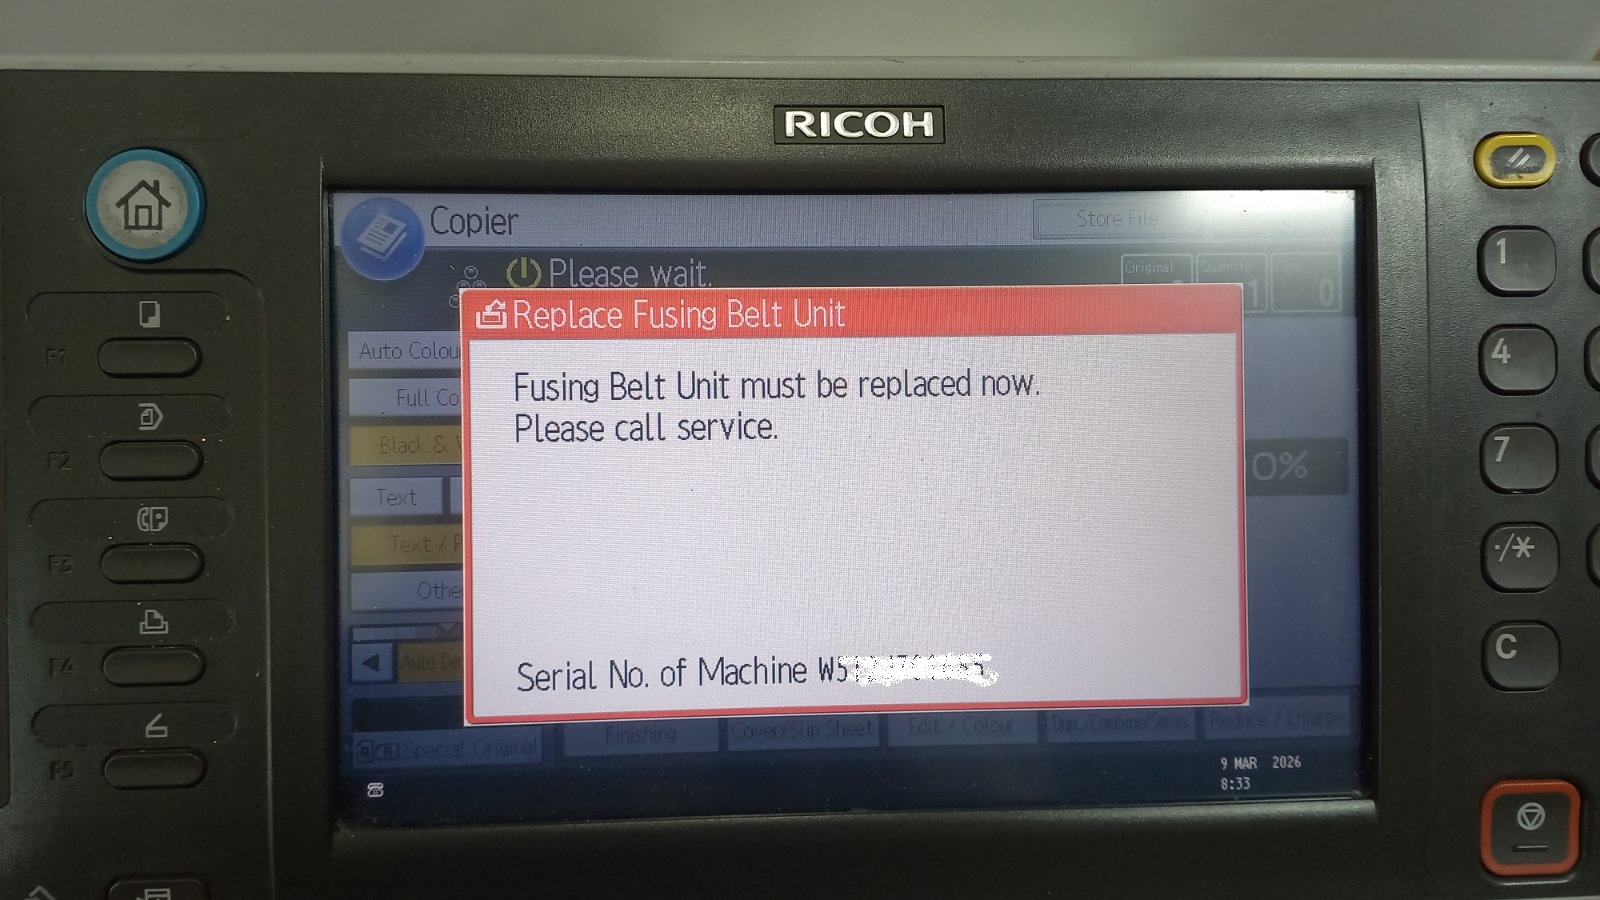
If your Ricoh copier displays the message “Replace Fusing Belt Unit”, it usually means that the fusing belt unit has reached its service counter limit. Even after replacing the unit, the message may still appear until the counter is reset in Service Mode (SP Mode). Follow the steps below to reset the fusing belt unit counter.
Step-by-Step Procedure
- On the control panel, press the Clear Modes key.
- Using the numeric keypad, type 107.
- Press and hold the “C” (Clear/Stop) key for a few seconds until the Service Mode (SP Mode) menu appears.
- Tap “System SP” on the touchscreen.
- On the keypad, enter 7804, then press “#”.
- A list of unit counters will appear.
- Use the down arrow and locate (19) Fusing Unit.
- Select it and press Execute to reset the counter.
- Exit Service Mode.
- Turn the machine OFF and then ON again to apply the changes.
Important Notes
- This procedure resets the fusing belt unit counter only.
- It should normally be performed after installing a new fusing belt unit.
- Resetting the counter without replacing the part may lead to print quality issues or possible damage to the fusing unit over time.
After restarting the machine, the message “Replace Fusing Belt Unit” should disappear and the copier will be ready for normal operation.
Frequently asked questions
What does “Replace Fusing Belt Unit” mean on a Ricoh MP C3502 / C4502?
It means the fusing belt unit has reached its service-counter limit. The message stays until you reset the counter in SP Mode, even after fitting a new unit.
Can I reset the counter without replacing the belt?
You can, but it is not recommended — running past the rated life can cause print-quality problems or damage to the fusing unit.
Do I need to restart the copier after resetting?
Yes. Turn the machine off and on so the reset is applied and the message clears.