After you replace the developer on a Sharp MX-M365N or MX-M565N, the machine has to initialize the new developer before it prints. This is done with simulation 25-02, with the toner cartridge removed. Skipping it can cause light or uneven prints and toner density errors.

Applies to / What you’ll need
Applies to: Sharp MX-M365N and MX-M565N (mono MX-M series).
What you’ll need:
- New original developer MX-561GV
- Access to simulation (service) mode
Note: developer initialization is a service procedure. Run it only right after fitting new developer.
How to initialize the developer (SIM 25-02)
- Replace the old developer with the new MX-561GV.
- Take the toner cartridge out of the machine.
- Turn on the machine.
- Enter simulation 25-02.
- Select K and press Execute.
- Wait until the procedure is complete, then exit simulation mode.
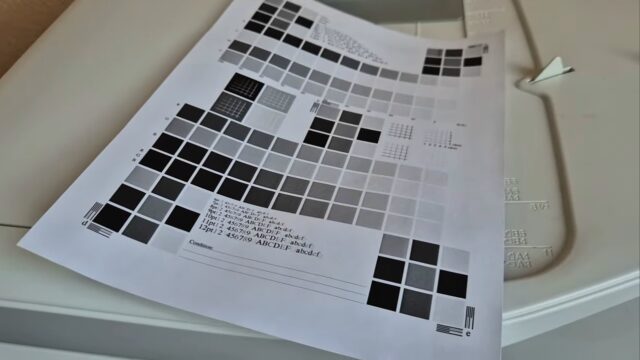
- Put the toner cartridge back and print a test page to check density.
Troubleshooting notes
- Toner cartridge left inside: the toner cartridge must be out during SIM 25-02, otherwise the initialization is not done the way the procedure requires.
- Light or uneven prints afterwards: check that the developer was fitted correctly and that you used new developer, then run the procedure again.
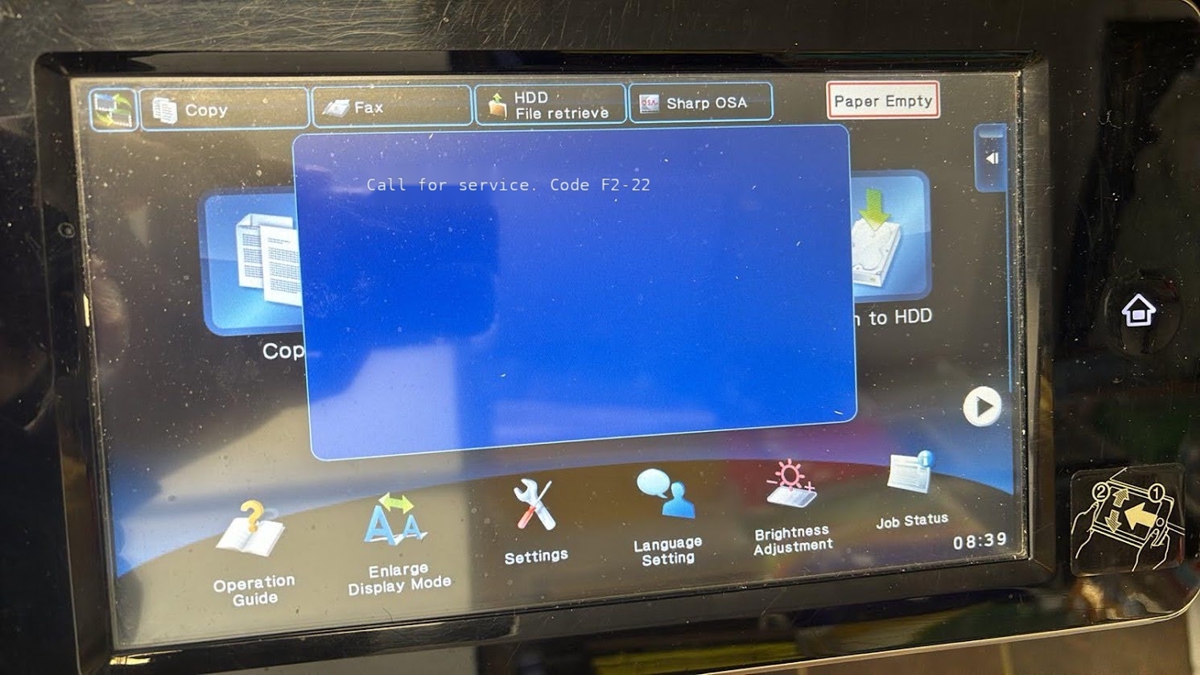
- Other errors after a developer swap (for example F2-22 on MX-M565): often a connector that was knocked loose – see the guide below.
FAQ
Which developer fits the MX-M365N / MX-M565N? The original Sharp developer is MX-561GV.
Why must the toner cartridge be removed? The procedure is done with the cartridge out; put it back only after SIM 25-02 has finished.
Do I need to reset anything else? Check the maintenance counters for the parts you replaced at the same time.
Related guides
- Sharp MX-M565 F2-22 error – causes and fix
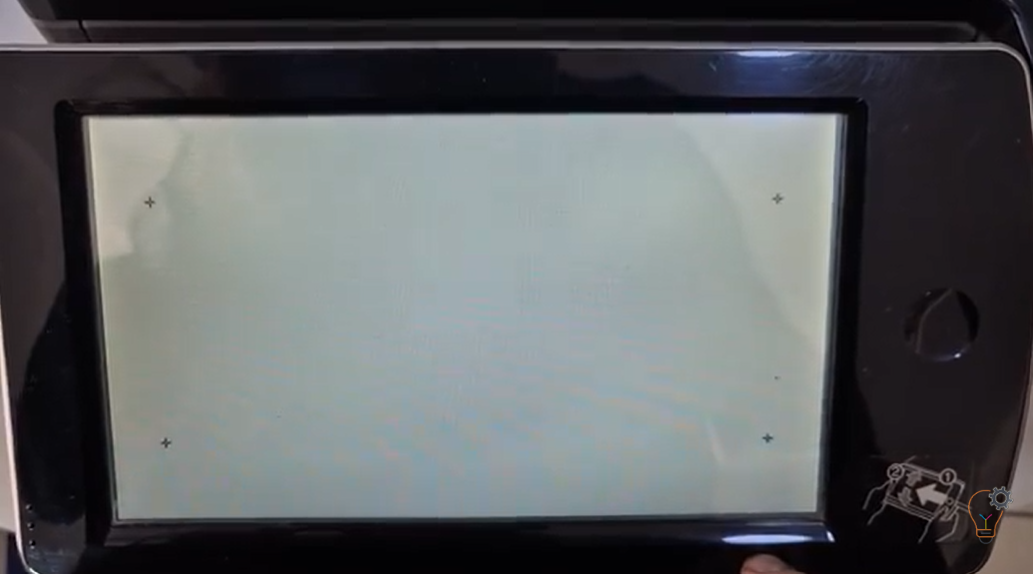
- Touch panel adjustment on Sharp MX-M365 / MX-M565
- How to clear error H5-01 on Sharp models
Browse all maintenance reset guides or all Sharp guides.