

Now Reading: Change the paper tray’s size setting on SHARP AR-5618/5620
-
01
Change the paper tray’s size setting on SHARP AR-5618/5620

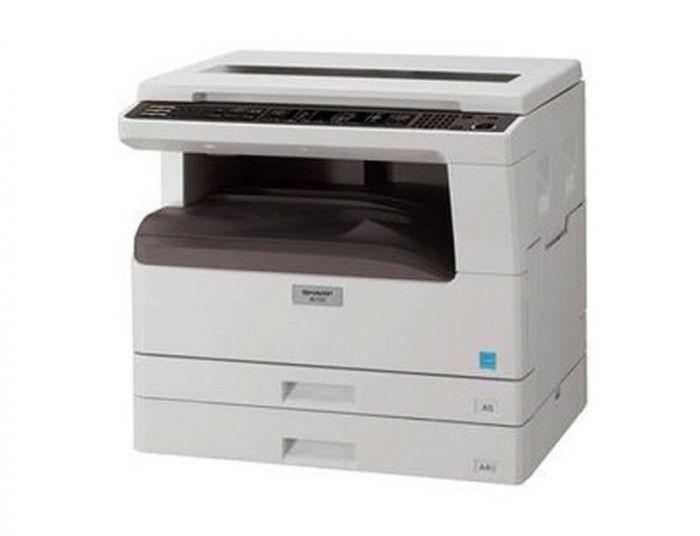
Change the paper tray’s size setting on SHARP AR-5618/5620
This guide shows how to change the paper tray size setting on the Sharp AR-5618 / AR-5620, so the copier matches the paper loaded in each tray and in the bypass tray. Follow the panel key sequence below.
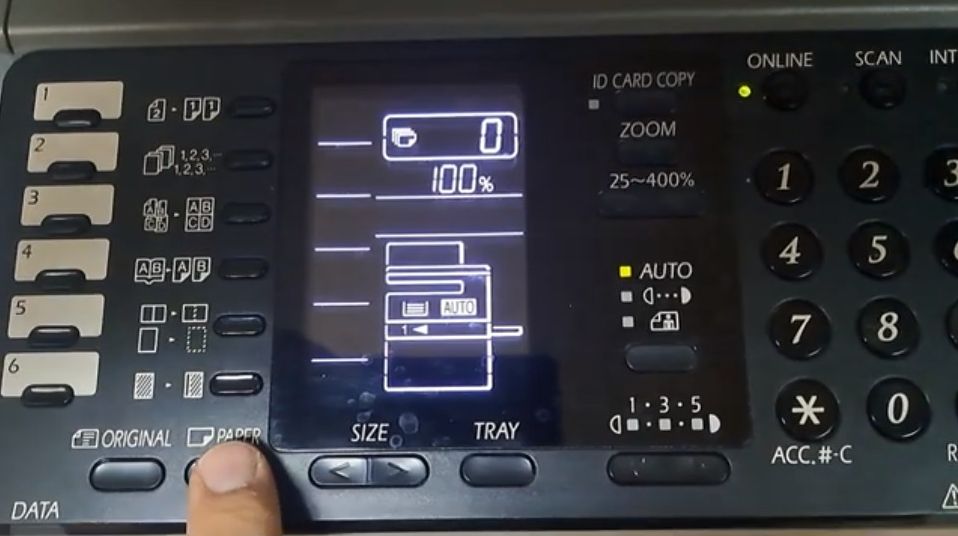
Hold down the [TRAY SETTING] key for more than 5 seconds to set the selected paper size The currently selected paper feed location indicator will blink and the corresponding paper size (which is currently set) indicator will light steadily. All other indicators will go out. If the machine has two or more paper trays, use the [PAPER SELECT] key to select the paper tray for which you wish to change the paper size setting Each time the [PAPER SELECT] key is pressed, a paper tray will be indicated with a blinking paper feed location indicator. Use the [ORIGINAL] key to select the paper size The indicator of the selected paper size lights up. Changing bypass tray’s paper size setting To change the bypass tray’s paper size setting, hold down the [TRAY SETTING] key for more than 5 seconds, use the [PAPER SELECT] key to select the bypass tray, and select the desired paper size. Squeeze the lock lever of the front guide and slide the front guide to match the width of the paper, and move the left guide to the appropriate slot as marked on the tray. Press the [START] key and then the [TRAY SETTING] key To change the paper size setting of another tray, repeat steps after pressing the [START]key. https://www.youtube.com/watch?v=cTe7yX0klb0
Frequently asked questions
Why change the paper size setting?
So the AR-5618/5620 knows which size is loaded in each tray and stops reporting a size mismatch when you copy or print.
Which keys do I use?
Hold Tray Setting for 5+ seconds, use Paper Select to choose the tray, and Original to pick the size.
Can I set the bypass tray size too?
Yes. The bypass tray has its own size setting, changed the same way from the Tray Setting mode.
Related guides
Leave a reply
You must be logged in to post a comment.
Pingback: How to Stop Procrastinating and Get Things Done | Real Tips and Tricks
Pingback: Change the paper size on tray 1 and bypass tray on SHARP AR-6020 series | Print Copy Tech
Pingback: Change the paper size on tray 1 and bypass tray on SHARP AR-6020 series - PrintFixLab